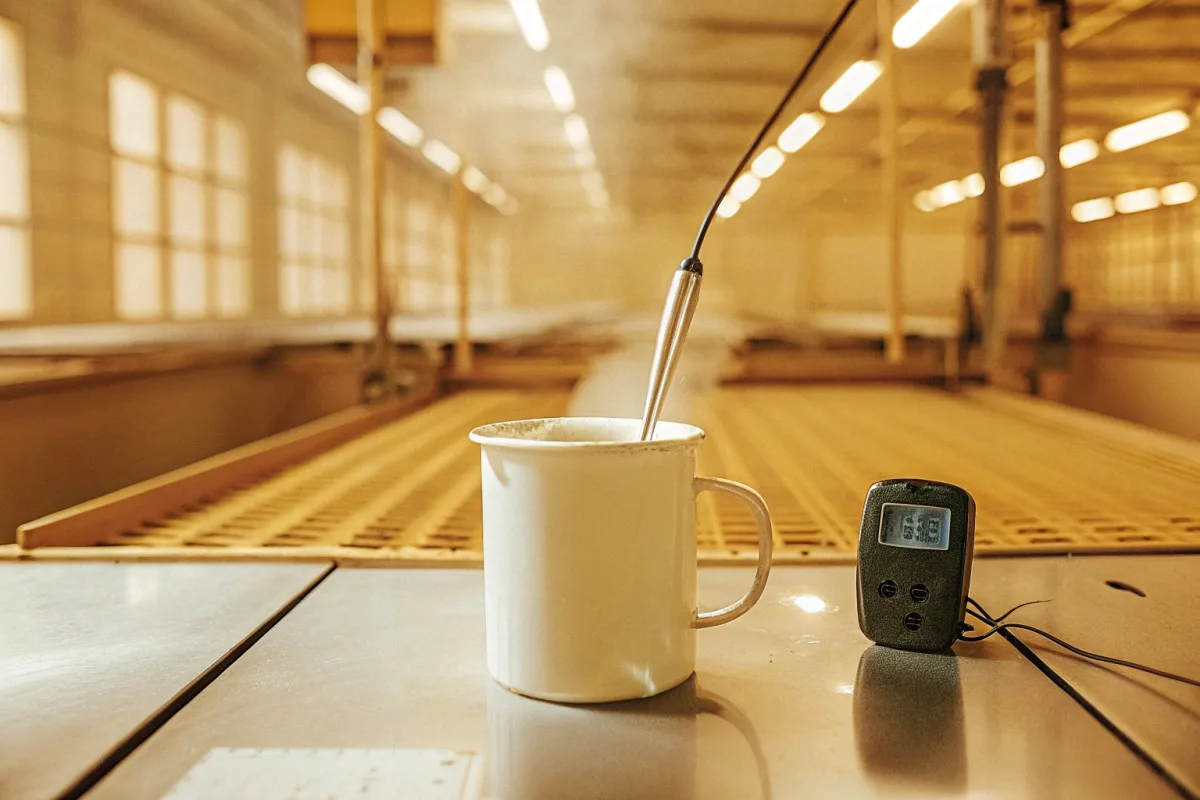
Every week, our production floor handles dozens of sample requests from café owners and outdoor brands calibrated digital probe thermometer 1. The most common complaint? Mugs that promise great heat retention 2 but fail within minutes.
To test thermal insulation of custom enamel mug samples, conduct temperature drop tests using digital thermometers at 15, 30, and 60-minute intervals. Request double-wall or vacuum-insulated designs. Check exterior surface temperature for safety. Compare results against benchmarks. Request material specifications and third-party test reports from suppliers.
Let me walk you through the exact testing methods our quality control team uses. These same protocols help procurement managers like you avoid costly mistakes when sourcing from China.
How can I accurately measure the heat retention of my enamel mug samples?
When we ship sample batches to clients in Germany and Australia, we always include our internal test data. But smart buyers verify everything themselves. The gap between supplier claims and real performance can cost you returns and damaged reputation.
Accurate heat retention measurement requires a standardized temperature drop test. Fill mugs with water at 200°F (93°C), then record internal temperature every 15 minutes for two hours using a calibrated digital probe thermometer. Good single-wall enamel loses 25-30°F in the first hour. Double-wall designs lose only 10-15°F.
Setting Up Your Test Environment
Temperature testing needs controlled conditions. Our lab maintains a steady 70°F room temperature. Any variance throws off your data. Here is what you need for reliable results.
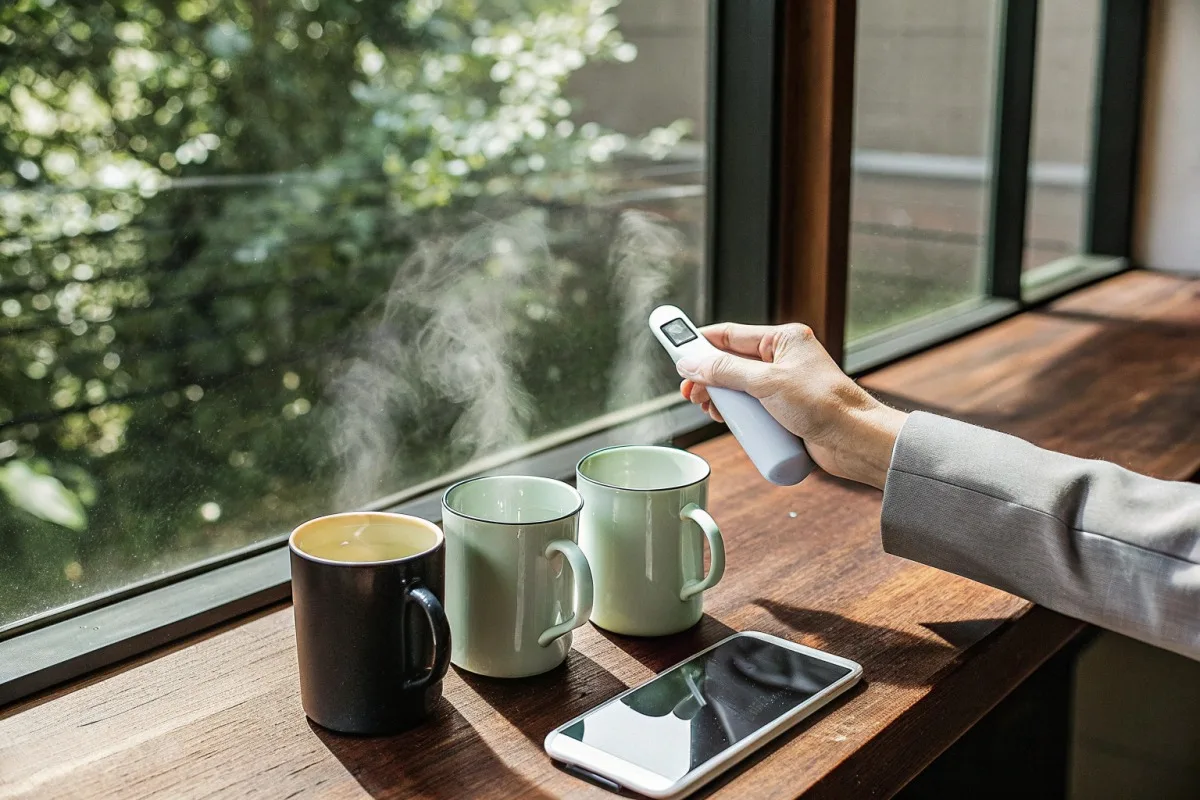
First, gather your equipment. You need a digital probe thermometer with at least 0.5°F accuracy. Infrared thermometer 3s work for surface checks but miss internal readings. Use fresh boiling water for each test. Pre-heat your mugs with hot tap water for two minutes. This simulates real-world use and removes cold-mug bias.
Step-by-Step Testing Protocol
Start by recording ambient room temperature. Fill the mug with boiling water to about 1 inch below the rim. Insert your probe thermometer. Take your first reading immediately. This is your baseline.
Set timers for 15, 30, 45, 60, 90, and 120 minutes. Record temperature at each interval. Keep the mug undisturbed between readings. If testing lidded mugs, keep the lid on except during measurement.
| Time Interval | Single-Wall Enamel | Double-Wall Air Gap | Vacuum Insulated |
|---|---|---|---|
| 0 minutes | 200°F | 200°F | 200°F |
| 15 minutes | 175°F | 190°F | 198°F |
| 30 minutes | 155°F | 178°F | 195°F |
| 60 minutes | 127°F | 160°F | 188°F |
| 120 minutes | 95°F | 130°F | 175°F |
Understanding Your Results
The numbers tell a clear story. Single-wall enamel mugs lose heat fast. Steel conducts heat 4 at 14-50 W/mK. Without insulation, your coffee drops to lukewarm in under an hour.
Compare your samples against these benchmarks. If a supplier claims "excellent insulation" but their single-wall mug matches the left column, question their honesty. Request double-wall samples instead.
Our engineering team found that enamel coating alone adds minimal insulation. The real difference comes from construction type. Air gaps between walls slow heat transfer significantly. Vacuum gaps perform even better.
Common Testing Mistakes to Avoid
Many buyers test only once. This gives unreliable data. We recommend testing each sample three times and averaging results. Test different samples from the same batch too. Manufacturing variance exists.
Another mistake is ignoring the lid. Up to 50% of heat escapes through an unsealed top. Always test with and without lids. A poorly fitting lid ruins otherwise good insulation.
Does the thickness of the steel core affect my custom mug's insulation performance?
Our factory offers steel gauges from 0.5mm to 1.2mm. Clients often assume thicker means better insulation. The reality surprises most procurement managers.
Steel thickness has minimal direct impact on thermal insulation because steel is highly conductive regardless of gauge. However, thicker steel (0.8-1.0mm) improves durability and allows heavier enamel coatings, which add minor insulation benefits. For meaningful heat retention, prioritize double-wall construction over steel thickness alone.

The Science Behind Steel Conductivity
Steel conducts heat efficiently. Whether your mug wall is 0.5mm or 1.2mm thick, heat travels through quickly. The conductivity rate stays around 14-50 W/mK depending on steel alloy. Compare this to ceramic at 3.8 W/mK or glass at 1.1 W/mK.
What does this mean for your samples? A thick single-wall mug cools almost as fast as a thin one. The extra steel mass absorbs more initial heat from your beverage. But it also releases that heat to the surrounding air quickly.
How Thickness Affects Other Performance Factors
While insulation gains are minimal, thickness matters for other reasons. Thicker steel resists dents better. It holds heavier enamel coatings without warping. These coatings add durability and slight insulation benefits.
| Steel Gauge | Thickness | Weight Impact | Durability | Insulation Benefit |
|---|---|---|---|---|
| Light | 0.5mm | Lightest | Low | Negligible |
| Standard | 0.6-0.7mm | Moderate | Medium | Negligible |
| Heavy | 0.8-1.0mm | Heavier | High | Minimal |
| Extra Heavy | 1.0-1.2mm | Heaviest | Very High | Minimal |
What Actually Improves Insulation
If thickness doesn't help much, what does? Construction design matters most. Double-wall mugs with an air gap between inner and outer shells dramatically slow heat transfer. The trapped air acts as an insulator.
Vacuum-insulated 5 enamel mugs take this further. By removing air between walls, they eliminate convection entirely. These premium designs emerged around 2019. They maintain temperatures for four or more hours.
Our R&D team tested both approaches extensively. Air-gap designs cost about 20-30% more than single-wall. Vacuum versions add 40-60% to unit cost. But buyer satisfaction increases proportionally.
Balancing Cost and Performance
When specifying orders, consider your end market. Café mugs used immediately don't need extreme insulation. A well-made single-wall works fine. Outdoor and camping customers expect longer heat retention. They'll pay more for double-wall designs.
Request samples in multiple constructions. Test them side by side. The price premium for better insulation often justifies itself through fewer complaints and returns.
What specific QC steps should I follow to test thermal insulation during my sourcing process?
Every order we fulfill goes through seventeen quality checkpoints. For thermal insulation 6 specifically, we run four distinct tests. These protocols catch problems before shipping. Use similar methods when evaluating supplier samples.
Follow a four-step QC protocol for thermal insulation testing: First, conduct temperature drop tests at standardized intervals. Second, perform external touch-safety checks. Third, verify lid seal effectiveness. Fourth, run thermal shock resistance tests. Document all results with photos and data sheets for supplier accountability.
Step One: Temperature Drop Testing
This is your primary insulation metric. We covered the basic protocol earlier. For QC purposes, add these refinements.
Test at least 5-10 samples per shipment. Random selection ensures you catch batch variance. Record the manufacturing date if marked. Compare results across production runs.
Create a pass/fail threshold. For example, single-wall mugs must retain at least 70% of initial temperature after 30 minutes. Double-wall designs must hit 85%. Any sample falling below gets flagged for investigation.
Step Two: External Surface Safety Check
This test protects end users from burns. Fill mugs with boiling water. Wait five minutes. Use an infrared thermometer to scan the exterior surface.
Safe single-wall enamel mugs should read under 130°F on outer walls. This feels hot but won't cause instant burns. Double-wall designs should stay under 100°F. The handle should always be cool enough for comfortable gripping.
| Surface Location | Single-Wall Max Temp | Double-Wall Max Temp | Pass Criteria |
|---|---|---|---|
| Upper body | 130°F | 100°F | No instant burn risk |
| Mid body | 130°F | 100°F | No instant burn risk |
| Lower body | 135°F | 105°F | No instant burn risk |
| Handle | 110°F | 85°F | Comfortable grip |
| Rim | 140°F | 115°F | Brief contact safe |
Step Three: Lid Seal Effectiveness
Lids make or break thermal performance. Fill a mug with hot water. Secure the lid. Invert briefly over a sink. Any leakage indicates poor seal.
Next, touch the lid top after ten minutes. Significant warmth means heat escapes rapidly. Well-designed lids stay noticeably cooler than the beverage inside.
For silicone-sealed lids, check flexibility after thermal exposure. Some cheap silicone hardens or loosens with heat cycles. This degrades seal quality over time.
Step Four: Thermal Shock Resistance
This test predicts long-term reliability. thermal shock resistance 7 Fill mugs with boiling water. After five minutes, empty and immediately fill with ice water. Repeat three times.
Inspect the enamel carefully. Look for hairline cracks, especially around the rim and bottom edge. Poor-quality enamel chips or crazes under thermal stress. Damaged coating compromises both appearance and safety.
Documenting Your QC Results
Create a standardized form for each supplier. Record sample identification numbers, test dates, ambient conditions, and all measurements. Take photos of any defects.
Share results with suppliers promptly. Good manufacturers appreciate feedback. It helps them improve. Suppliers who dismiss concerns or make excuses may not be reliable partners.
How do I verify that the exterior of my mugs remains safe to touch with hot liquids inside?
A client in the US once received a shipment that looked perfect. But customers complained about burned fingers. The issue? Single-wall construction combined with thin enamel. We helped redesign their next order. Touch safety now tops their spec sheet.
Verify touch safety by measuring exterior surface temperature with an infrared thermometer after filling mugs with 200°F liquid for five minutes. Single-wall enamel exteriors should stay below 130°F to prevent burns. Double-wall designs should remain under 100°F. Test handles separately, ensuring they stay below 110°F for comfortable gripping.

Understanding Heat Transfer to Exterior Surfaces
Steel enamel mugs conduct heat to their outer surface quickly. Single-wall construction provides no barrier. The enamel coating adds minimal resistance. Within minutes, the exterior approaches interior temperature.
Double-wall designs create an insulating barrier. The gap between walls slows heat transfer dramatically. Air-gap versions reduce exterior temperature significantly. Vacuum versions perform even better.
Proper Touch Testing Technique
Use an infrared thermometer for consistent readings. These devices measure surface temperature without contact. Point at multiple locations on each mug.
Test the upper body, mid body, lower body, handle, and rim separately. Heat distribution varies across surfaces. The bottom often runs warmest due to liquid contact. Handles should stay coolest.
Wait exactly five minutes after filling before testing. This allows temperature to stabilize. Shorter waits give artificially low readings. Longer waits let single-wall mugs cool, masking poor performance.
Interpreting Your Measurements
Human pain threshold for brief contact is around 140°F. Extended contact causes burns at lower temperatures. Set your safety limits accordingly.
For single-wall mugs, 130°F exterior allows brief touching without injury. Users can pick up the mug carefully. But prolonged grip feels uncomfortable.
Double-wall mugs should stay under 100°F. This temperature feels warm but pleasant. Users can hold the mug comfortably for extended periods.
Handle Design Considerations
Handles deserve special attention. They're the primary grip point. Even single-wall mugs should have handles that stay safely cool.
Good handle design includes distance from the mug body. The gap creates a thermal break. Wider handles distribute grip pressure, reducing hot-spot contact.
| Handle Feature | Heat Transfer Impact | Recommended Spec |
|---|---|---|
| Gap from body | Larger gap = cooler | Minimum 15mm |
| Handle width | Wider = better grip | 20-30mm optimal |
| Attachment points | Fewer = less heat path | Two-point standard |
| Material thickness | Thicker = slower heating | Match body gauge |
Real-World Usage Scenarios
Consider how end users interact with your mugs. Café customers grab mugs quickly. They may not notice heat until it's too late. Safety margins matter.
Outdoor users often lack tables. They hold mugs longer while standing or walking. Extended grip time increases burn risk.
Children and elderly users have thinner skin. They burn more easily. If these demographics use your products, specify tighter safety margins.
Communicating Specifications to Suppliers
When requesting quotes, include explicit touch-safety requirements. State maximum exterior temperatures at specific test conditions. Reference your testing protocol.
Good suppliers welcome clear specifications. It helps them manufacture correctly the first time. Vague requests lead to misunderstandings and rejected shipments.
Conclusion
Testing thermal insulation protects your brand and your customers. Follow standardized protocols, document everything, and hold suppliers accountable. The effort pays off in fewer returns and happier buyers.
Footnotes
1. Provides information on the calibration of industrial thermometers by NIST. ↩︎
2. Provides a clear explanation of thermal insulation and its principles, directly relevant to heat retention in the context of the article. ↩︎
3. Explains how infrared thermometers work and their applications. ↩︎
4. Explains the thermal conductivity of steel and its implications. ↩︎
5. Explains the principle and design of vacuum insulation in flasks. ↩︎
6. Explains the concept of thermal insulation and its importance. ↩︎
7. Authoritative and comprehensive explanation of thermal shock resistance from Wikipedia. ↩︎