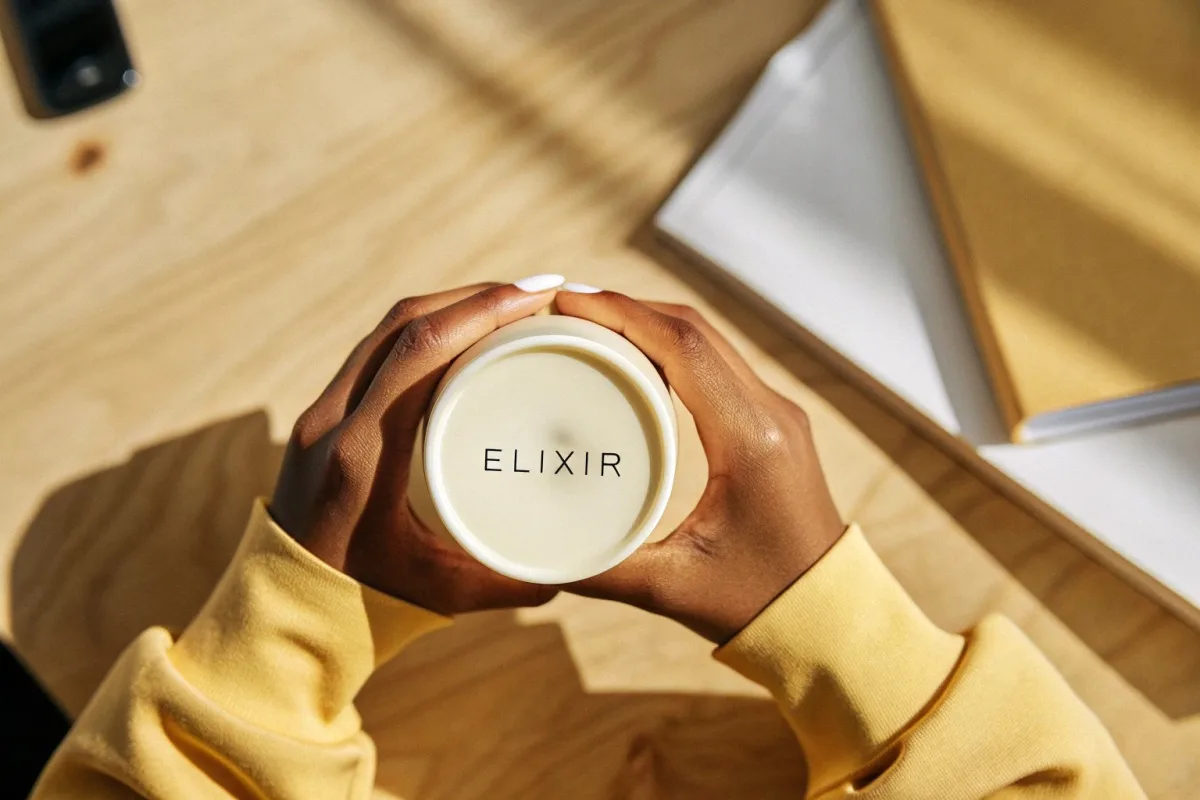
When our production team first started receiving requests for bottom logo printing, we noticed a common frustration LFGB certification 1. Buyers often struggle to communicate their exact needs to suppliers. Many end up with prints that fade, peel, or simply don’t match their vision. This wastes time and money.
To inquire about bottom logo printing on custom enamel mugs, ask suppliers about available printing methods like pad printing or laser engraving, specify your logo size and placement, request sample mugs for durability testing, and confirm the print can withstand heat, dishwashers, and daily use before placing bulk orders.
In this guide, we will walk you through exactly how to communicate with suppliers, what questions to ask, and how to ensure your bottom logo meets your quality standards. Let’s dive into the details.
How do I specify my bottom logo requirements when sending an inquiry to a supplier?
Our export team handles inquiries from US and European buyers every day. We see the same mistakes repeated. Buyers send vague requests without design files or size specs. This leads to back-and-forth emails and delays.
When sending an inquiry, provide vector artwork in AI or EPS format, specify the logo diameter (typically under 8cm for mug bottoms), choose between pad printing or laser engraving, and ask about color limitations. Include your target quantity and deadline for accurate quotes.
Start With Your Design Files
Your supplier cannot quote accurately without proper artwork. Vector files work best because they scale without losing quality. Our design team recommends Adobe Illustrator (.AI) or Encapsulated PostScript (.EPS) formats.
Avoid sending JPEG or PNG files for final production. These raster formats blur when resized. If you only have a bitmap logo, ask your supplier if they offer design conversion services. Many factories charge $20-50 for this.
Understand Size Limitations
Enamel mug bottoms have physical constraints. Most standard mugs have a bottom diameter of 8-9cm. Your logo should fit within this space with some margin. We typically recommend keeping designs under 7cm in diameter.
Here is a quick reference for common mug sizes:
| Mug Capacity | Bottom Diameter | Max Logo Size |
|---|---|---|
| 350ml | 7.5cm | 6cm |
| 450ml | 8.5cm | 7cm |
| 500ml | 9cm | 7.5cm |
Choose Your Printing Method
Different methods suit different needs. Pad printing 2 handles multi-color designs well. Laser engraving creates permanent marks but only in one color. Screen printing works for simple logos with 1-3 colors.
When you send your inquiry, specify which method you prefer. Or ask your supplier to recommend based on your design complexity.
Write a Clear Inquiry Email
Include these key elements in your first email:
- Attached vector artwork 3 file
- Desired logo size and placement
- Preferred printing method
- Target order quantity
- Expected delivery date
- Any food-safety certifications needed
A clear inquiry gets faster, more accurate responses. Suppliers appreciate buyers who know what they want.
How much extra should I budget for adding a custom logo to the bottom of my mugs?
In our experience working with procurement managers, budget surprises kill deals. Many buyers don't realize bottom printing involves setup fees on top of per-unit costs. Understanding the full cost structure helps you plan better.
Budget an additional $0.50-2.00 per unit for bottom logo printing, plus one-time setup fees of $50-200 depending on the method. Pad printing costs more for multi-color designs, while laser engraving has lower setup fees but limited color options. Volume discounts kick in at 500+ units.

Breaking Down the Costs
Let's look at how different printing methods affect your budget. These figures come from our actual production pricing for US-bound orders.
| Printing Method | Setup Fee | Per-Unit Cost (1000 pcs) | Colors Available |
|---|---|---|---|
| Pad Printing | $100-200 | $0.80-1.50 | Up to 4 |
| Laser Engraving 4 | $50-100 | $0.50-0.80 | 1 (monochrome) |
| Screen Printing | $20-50 | $0.40-0.70 | 1-3 |
| High-Heat Fusion | $150-250 | $1.50-2.00 | Full color |
Volume Matters
Per-unit costs drop significantly with larger orders. Here's what we typically see:
- 100-499 units: Full per-unit price
- 500-999 units: 10-15% discount
- 1000-2999 units: 20-25% discount
- 3000+ units: Negotiate custom pricing
Hidden Costs to Consider
Watch out for these additional expenses:
Sample fees: Most suppliers charge $30-100 for pre-production samples. Some refund this with your first order.
Design revision fees: After the first proof, changes may cost $15-30 each.
Rush fees: Need it in 2 weeks instead of 4? Expect 20-30% surcharge.
Shipping: Samples sent via DHL or FedEx to the US typically cost $40-80.
Cost Comparison Example
Imagine ordering 1000 mugs with a two-color bottom logo. Here's a realistic breakdown:
- Blank mugs: $4.50 × 1000 = $4,500
- Pad printing setup: $150
- Pad printing per unit: $1.20 × 1000 = $1,200
- Sample fee: $50
- Total: $5,900 ($5.90 per finished mug)
This gives you a realistic baseline for budgeting conversations with your finance team.
How can I verify the durability and quality of a bottom-printed logo before mass production?
Our quality control team tests every print method before we recommend it to buyers. We've seen too many cases where prints looked great initially but failed within months. Testing prevents expensive returns and damaged brand reputation.
Request physical samples and conduct three durability tests: dishwasher cycles (run 50+ washes), heat resistance (place on hot surfaces), and scratch tests (rub with abrasive materials). Check for fading, peeling, or chipping. Food-contact prints need FDA or LFGB certification documents.
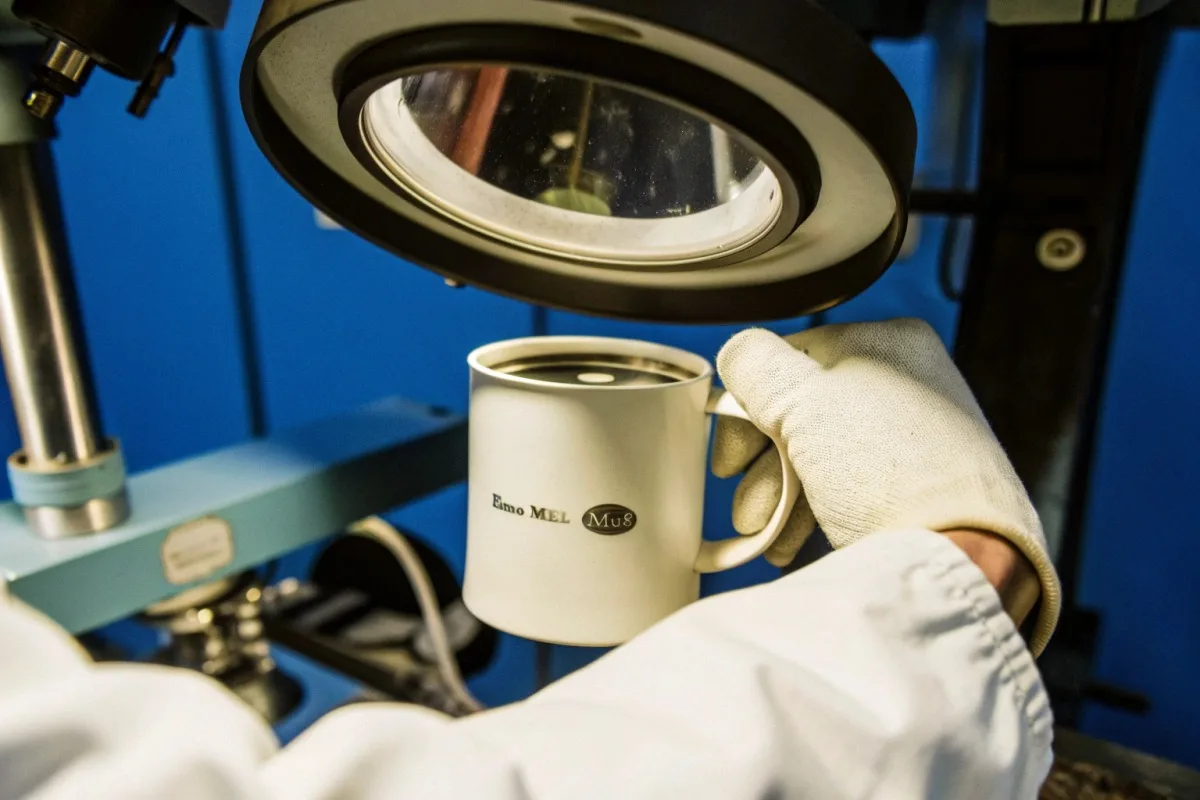
Request Physical Samples First
Never approve mass production based on digital mockups alone. Physical samples reveal issues that screens cannot show. When requesting samples, ask for:
- 2-3 pieces minimum
- Different print methods if undecided
- The exact mug model you plan to order
At our facility, we recommend buyers order samples 4-6 weeks before their expected production date. This allows time for testing and revisions.
Conduct Your Own Durability Tests
Professional testing costs money, but you can perform basic checks at home or in your office.
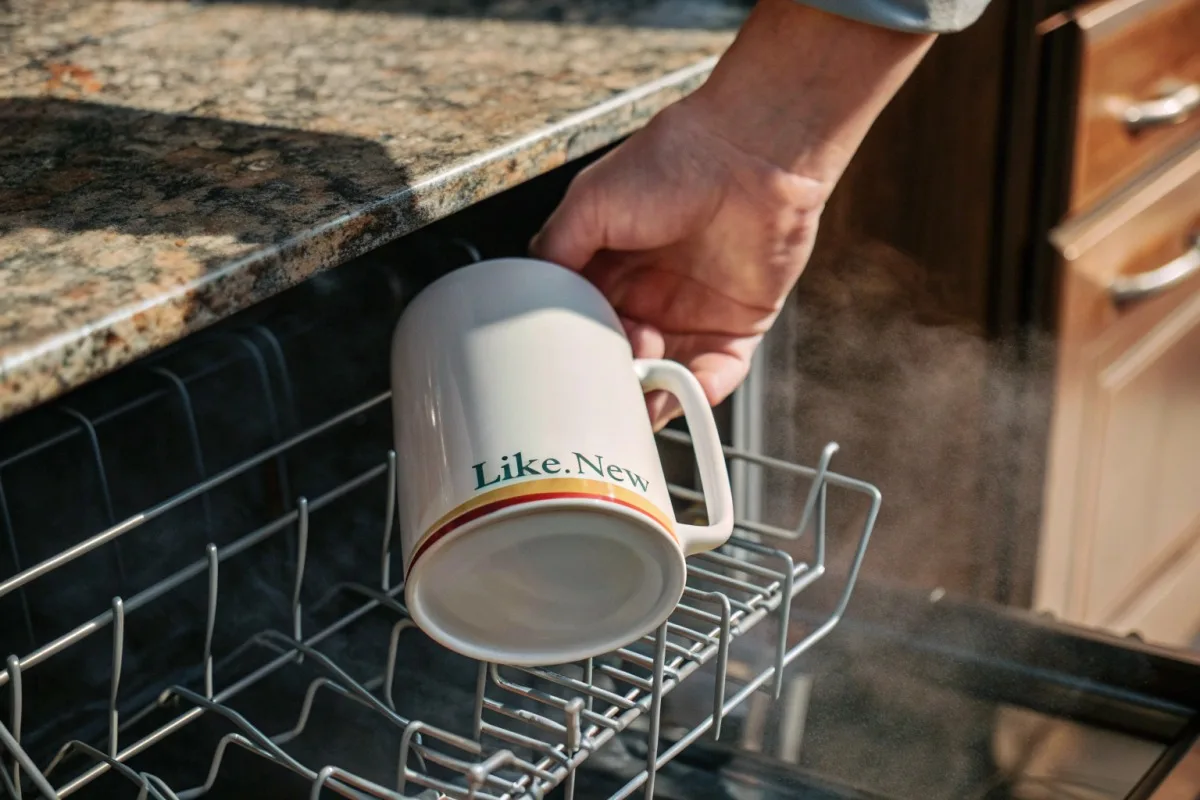
Dishwasher Test: Run the sample through 50 dishwasher cycles. Check after every 10 cycles. Note any fading, bubbling, or lifting. Quality enamel-fused prints survive 500+ cycles.
Heat Resistance Test: Place the mug bottom on a warm surface (not directly on flame). Leave for 30 minutes. Check for discoloration or softening. Good prints withstand temperatures up to 200°C without damage.
Scratch Test: Use a coin or key to apply moderate pressure. Quality prints should resist normal scratches. Cheap ink-stamp prints fail this test immediately.
Understanding Print Durability Ratings
| Print Method | Dishwasher Cycles | Heat Tolerance | Scratch Resistance |
|---|---|---|---|
| High-Heat Fusion | 500+ | 800°C+ | Excellent |
| Laser Engraving | Unlimited | 500°C+ | Excellent |
| Pad Printing | 300-500 | 200°C | Good |
| Screen Printing | 200-300 | 150°C | Moderate |
| Vinyl/Sticker | 1-5 | 50°C | Poor |
Ask for Certification Documents
For food-contact items, safety certifications matter. Ask your supplier to provide:
- FDA compliance certificate 5 (required for US market)
- LFGB certification (required for Germany/EU)
- Lead-free enamel documentation
Reputable suppliers have these ready. If a supplier hesitates or cannot provide them, consider it a red flag.
Real-World Testing Protocol
Before our production team approves any new print method, we run this internal protocol:
- Print 10 sample pieces
- Subject 5 to extreme testing (100 dishwasher cycles, direct heat exposure)
- Send 5 to staff for daily use over 2 weeks
- Document all failures with photos
- Calculate failure rate percentage
If failure rate exceeds 5%, we do not offer that method to buyers.
Can I customize the bottom of my enamel mugs with both a logo and care instructions?
When we developed our customization options, buyers asked about combining branding with practical information. The mug bottom offers limited space, but with smart design, you can include both elements effectively.
Yes, you can combine a logo with care instructions on the bottom. Keep text minimal (3-5 words like "Handwash Recommended" or "Not Microwave Safe"). Use a ring layout with the logo centered and text circling the edge. Ensure text is at least 6pt font for readability after printing.
Space Management Strategies
The mug bottom is valuable real estate. Use it wisely. Here are layout options our design team recommends:
Centered Logo with Ring Text: Place your logo in the middle. Add care instructions in a circular pattern around the edge. This looks professional and uses space efficiently.
Stacked Layout: Logo on top, text below. Simple but may appear crowded on smaller mugs.
Logo Only with QR Code: Include a tiny QR code that links to online care instructions. Modern and saves space.
What Text to Include
Keep it short. Mug bottoms are not the place for paragraphs. Focus on essential information:
- "Handwash Only" or "Dishwasher Safe"
- "Not Microwave Safe" (important for enamel)
- "Made in [Country]"
- Trademark symbols (™ or ®)
- Your website URL
Technical Considerations
Small text poses challenges for some printing methods. Here's what works:
| Printing Method | Minimum Font Size | Text Clarity |
|---|---|---|
| Pad Printing | 5pt | Excellent |
| Laser Engraving | 6pt | Good |
| Screen Printing | 8pt | Moderate |
Laser engraving struggles with very fine details. Pad printing handles small text better but costs more.
Legal Requirements
Some markets require specific bottom markings:
United States: FDA does not mandate bottom markings, but "Not for Microwave Use" helps avoid liability.
European Union: CE marking may be required depending on product classification.
Australia: Country of origin marking is mandatory for many goods.
Check with your compliance team before finalizing bottom designs. Regulations change, and requirements vary by product category.
The "Reveal" Marketing Opportunity
Smart brands use bottom printing for surprise moments. When customers finish their drink and see a message or secondary logo, it creates a memorable interaction.
Examples we've seen work well:
- "Thanks for choosing [Brand]"
- A hidden illustration related to the main design
- A discount code for repeat purchases
- A fun quote or message
This approach turns functional space into a branding opportunity. Our marketing-focused buyers often request this for promotional merchandise.
Sample Template for Supplier Inquiry
When requesting combined logo and care instructions, send your supplier this information:
- Main logo file (vector format)
- Care instruction text (exact wording)
- Preferred layout sketch
- Font preference for text
- Any required compliance markings
Clear communication prevents costly revisions. Your supplier can create accurate mockups when they understand your complete vision.
Conclusion
Sourcing custom enamel mugs 6 with bottom logo printing requires clear communication, proper file preparation, and thorough quality testing. Work closely with your supplier, request samples, and verify durability before committing to mass production.
Footnotes
1. Explains LFGB testing and its importance for food contact materials in the EU. ↩︎
2. Explains the process and applications of pad printing. ↩︎
3. Defines vector artwork and explains its benefits in graphic design. ↩︎
4. Provides a detailed explanation of how laser engraving works. ↩︎
5. Details FDA regulations and compliance for food contact materials in the US. ↩︎
6. Describes what enamel is and how enamelware, including mugs, is produced. ↩︎