
On our production line in Huizhou, we’ve noticed a growing demand for mugs that look like they’ve traveled through decades of adventures Pantone codes 1. Buyers want that nostalgic campfire aesthetic, but getting it right is tricky. Too much distressing ruins durability. Too little looks fake.
To achieve an authentic distressed vintage look on custom enamel mugs, prioritize speckled finishes, contrasting rims, controlled edge wear, and matte or semi-gloss coatings. Work closely with your supplier to specify multi-layered enamel application, intentional imperfections, and proper sealing techniques that preserve food safety while creating genuine aged character.
This guide breaks down exactly what to ask your manufacturer, which techniques work best, and how to maintain quality standards. Let’s dive into the details.
What design elements should I prioritize to achieve an authentic distressed vintage look on my custom mugs?
When we develop new vintage collections with our brand partners, design choices make or break the final result. Many buyers request "vintage style" but struggle to articulate specific elements. This leads to disappointing samples and wasted time.
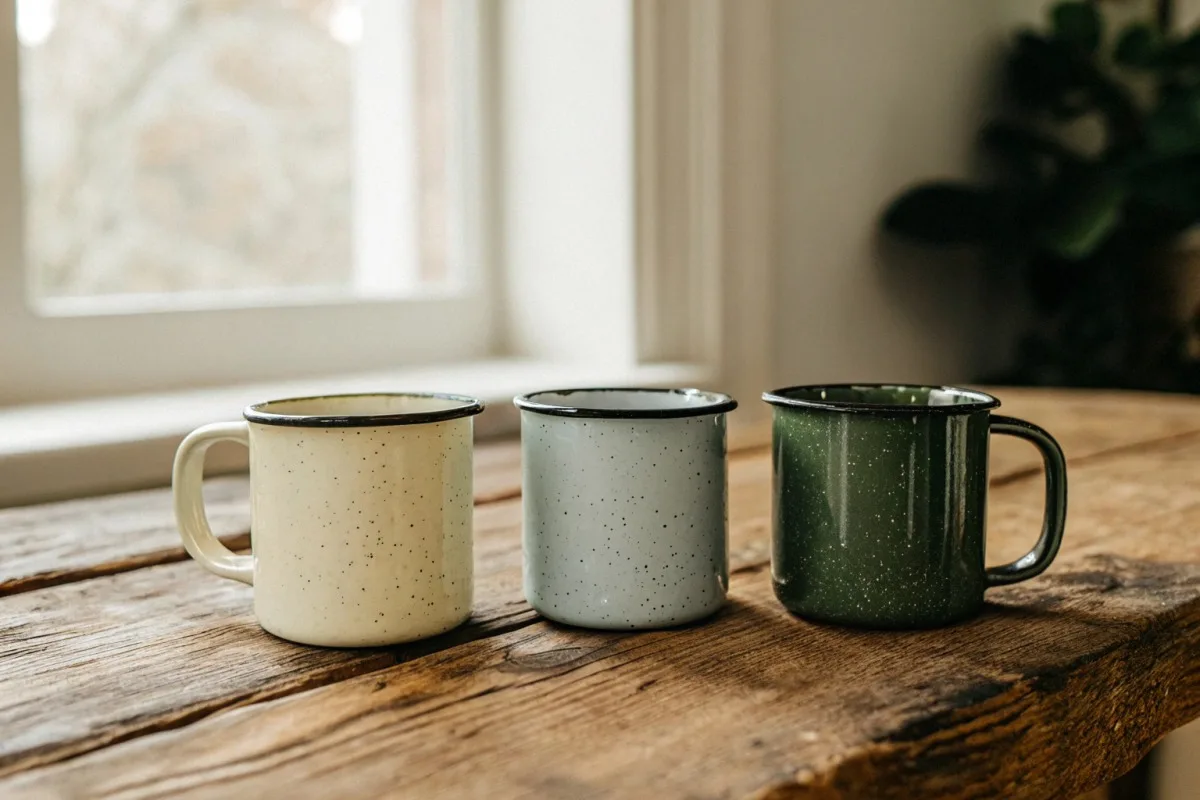
Prioritize speckled enamel finishes, contrasting silver or black rims, muted color palettes like cream, deep blue, or forest green, and minor intentional imperfections such as small dimples or color blemishes. These elements together create the hand-crafted character that defines authentic vintage enamelware.
The Speckled Finish Foundation
Speckled enamel 2 is the most recognizable feature of classic vintage enamelware. Our factory applies this by adding small granules or pigment variations during the coating process. The speckles should appear random, not uniform. Traditional colors include blue-gray, cream with black specks, and green with white flecks.
When you request samples, examine the speckle distribution. Authentic vintage pieces have irregular patterns. If the specks look too perfect or evenly spaced, the mug will appear mass-produced rather than nostalgic.
Rim and Edge Treatments
The rim color creates visual contrast and signals quality. Black rims work well with lighter body colors. Silver or stainless steel rims pair beautifully with darker shades. This contrast draws the eye and mimics traditional enamelware construction methods.
Edge thickness matters too. Thicker rolled edges suggest durability and old-school manufacturing. Thin, sharp edges look modern and cheap.
Color Selection Guide
| Color Family | Traditional Shades | Modern Vintage Options | Best Rim Pairing |
|---|---|---|---|
| White/Cream | Ivory, Bone White | Antique White, Warm Cream | Black or Charcoal |
| Blue | Cobalt, Navy | Dusty Blue, Slate | Silver or Black |
| Green | Forest, Hunter | Sage, Olive, Eucalyptus | Black or Bronze |
| Red | Barn Red, Crimson | Terracotta, Rust | Black or Cream |
| Neutral | Gray, Taupe | Mushroom, Stone | Silver or Black |
Embracing Intentional Imperfections
Here's something counterintuitive: small flaws add value. Minor dimples, slight color variations, and tiny black dots from the firing process signal authenticity. These marks tell customers the mug was made by hand, not stamped out by robots.
When reviewing samples, don't reject pieces with minor surface irregularities. Instead, evaluate whether those imperfections enhance or detract from the vintage character. A small dimple on the body? That's charming. A crack in the enamel? That's a quality defect.
Finish Texture Considerations
Matte and semi-gloss finishes read as more authentically vintage than high-gloss options. Old enamelware naturally loses its shine over years of use. A slightly dulled surface immediately suggests age and history.
Request finish samples in multiple sheen levels. Place them side by side. The matte version will almost always look more genuinely aged.
Which manufacturing techniques can my supplier use to create a realistic aged effect on my enamelware?
In our experience exporting vintage-style mugs to the US and Germany, buyers often underestimate how many technical options exist. The right technique depends on your budget, volume, and desired level of distressing.
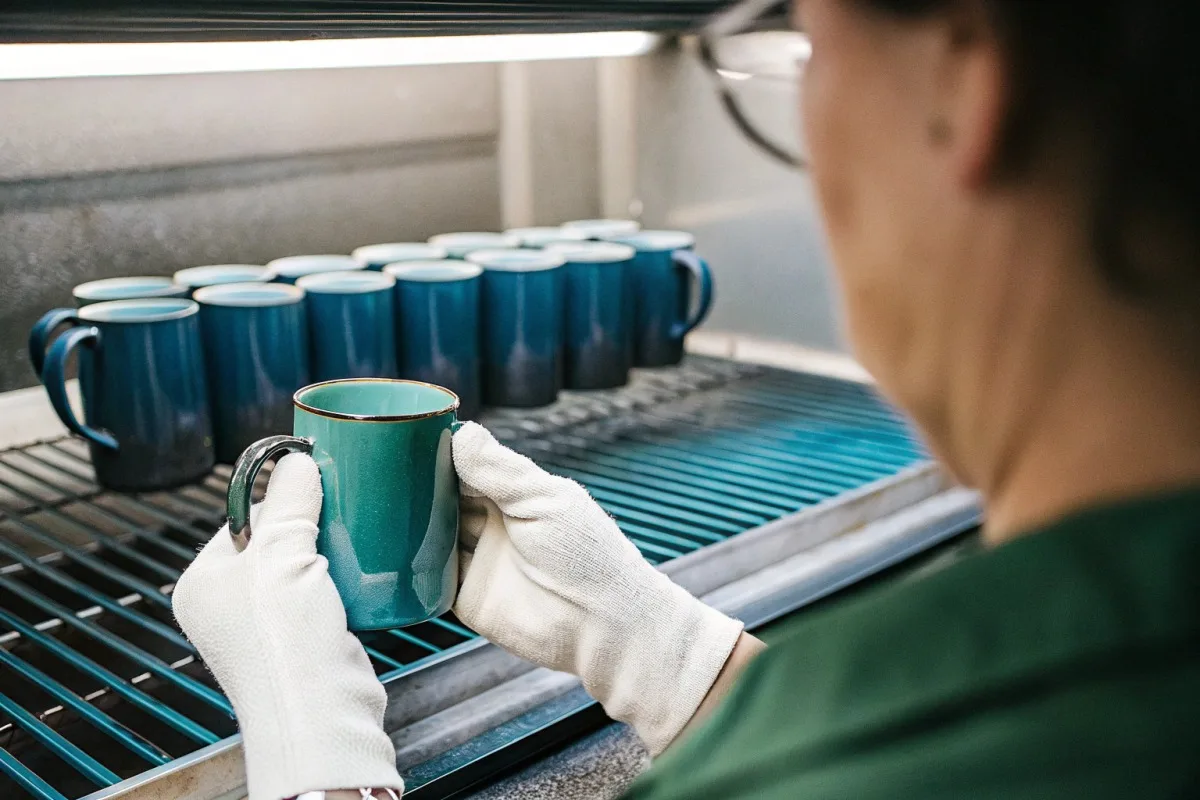
Suppliers can create realistic aged effects through controlled abrasive techniques like light sandblasting or tumbling, multi-layered enamel with intentional partial removal, controlled oxidation with rust patina on exposed edges, and strategic chip simulation. Each method offers different authenticity levels and price points.
Abrasive Techniques Explained
Light sandblasting 3 targets specific areas—rims, handles, and bottom edges—where natural wear occurs. The process removes a thin layer of enamel, revealing the metal beneath or a contrasting undercoat.
Tumbling involves placing mugs in rotating drums with abrasive media. This creates random wear patterns across the entire surface. The result looks more organic than targeted sandblasting but offers less control.
| Technique | Control Level | Cost Impact | Best For |
|---|---|---|---|
| Light Sandblasting | High | Medium | Targeted edge wear |
| Tumbling | Low | Low | Overall aging |
| Hand Distressing | Very High | High | Premium products |
| Chemical Aging | Medium | Medium | Rust patina effects |
Multi-Layer Enamel Strategy
This technique involves applying two or more enamel colors in layers. The factory then selectively removes portions of the top layer during or after firing. This reveals the contrasting color beneath, simulating years of wear.
For example, a white top coat over a dark blue base creates striking wear marks where the white chips away. This method requires skilled workers and adds production time. But the results are remarkably authentic.
Controlled Oxidation for Rust Patina
Some buyers want subtle rust accents on exposed metal edges. Our team achieves this through controlled oxidation—exposing specific areas to moisture and air, then stopping the process at the desired point.
A clear food-safe sealant locks in the patina. This prevents further rusting and ensures the mug remains safe for food contact. Without proper sealing, rust will continue spreading and compromise the product.
Chip and Wear Simulation
Strategic chipping mimics decades of kitchen use. The factory creates small chips on high-contact areas: the rim where lips touch, the base where mugs sit on counters, and handle attachment points.
The key word is "strategic." Random chips everywhere look like quality problems, not vintage charm. Chips should appear where real wear naturally occurs.
Heat Treatment Variations
Adjusting firing temperatures and times creates subtle color variations. Lower temperatures can produce a slightly uneven finish. Extended firing times may create minor surface texture changes.
These variations are subtle but noticeable to trained eyes. They add depth and complexity that distinguishes handmade character from factory uniformity.
How do I ensure the distressed finish doesn't compromise the durability or food safety of my custom mugs?
When we calibrate our processes for vintage-style mugs, safety testing happens at every stage. Buyers in Australia and the EU face strict compliance requirements. Cutting corners here creates liability nightmares.
Ensure durability and food safety by specifying high-temperature enamel firing above 800°C, requiring FDA or EU food-contact certification, demanding sealed rust patina treatments, avoiding lead-based pigments, and requesting chip-resistance testing documentation. Proper curing and sealing protocols protect both your customers and your brand reputation.
Understanding Enamel Composition
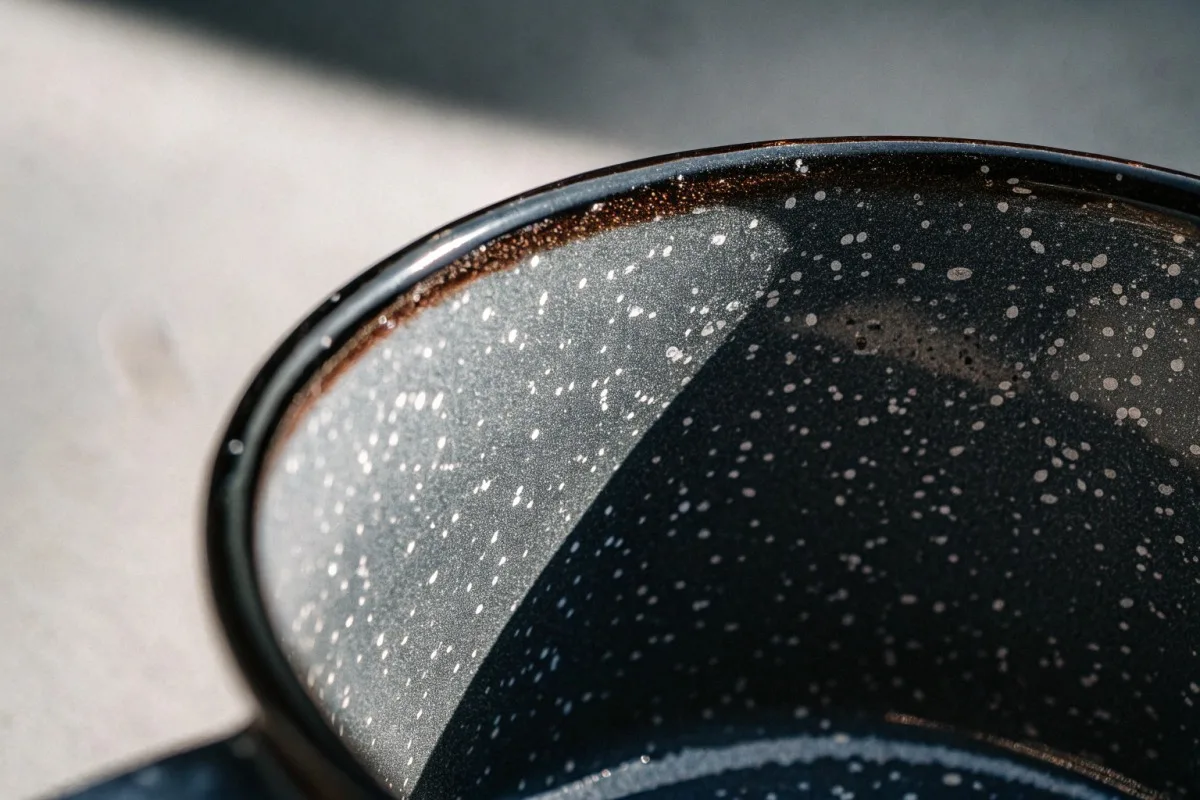
Quality enamel consists of powdered glass fused to steel or iron at extremely high temperatures. enamel composition 4 This fusion creates a non-porous, food-safe surface. The distressing process must never compromise this protective layer in areas that contact food or beverages.
Exterior distressing is safer than interior treatments. Any wear marks, chips, or patina effects should stay on the outside surfaces, handle, and outer rim edge. The interior drinking surface must remain intact.
Temperature and Firing Requirements
| Firing Stage | Temperature Range | Purpose | Safety Impact |
|---|---|---|---|
| Initial Coat | 750-800°C | Base adhesion | Foundation strength |
| Color Application | 800-850°C | Pigment fusion | Color stability |
| Final Cure | 820-850°C | Surface hardening | Chip resistance |
| Distressing (if post-fire) | Room temperature | Aging effects | Surface integrity |
Certification Requirements by Market
The US market requires FDA compliance 5 for food-contact items. European buyers need EU 1935/2004 certification 6. Australian standards follow similar frameworks.
Request certificates with each production batch. Reputable factories provide these automatically. If your supplier hesitates or cannot produce documentation, consider that a red flag.
Sealing Exposed Metal Areas
Any distressing that exposes underlying metal requires sealing. Food-grade clear coats prevent rust contamination and metal transfer. The sealant must withstand washing, temperature changes, and normal use.
Ask your supplier which sealant they use. Request technical data sheets. Test sealed samples by soaking them in water for 24 hours. Any rust bleeding indicates inadequate protection.
Lead-Free Pigment Verification
Vintage-style colors sometimes tempt manufacturers toward cheaper pigments. Certain reds, yellows, and oranges historically contained lead compounds. Modern alternatives exist but cost more.
Specify lead-free pigments 7 in your purchase order. Request third-party lab testing for heavy metals. This protects your customers and shields your business from recall disasters.
Chip Resistance Testing
Intentional distressing weakens certain areas by design. But the remaining enamel must resist further chipping during normal use. Standard tests drop steel balls onto the surface from measured heights.
Ask your supplier about their chip resistance testing protocols. A mug that continues deteriorating beyond its intended distressed look becomes a quality complaint waiting to happen.
What specific requirements should I communicate to my manufacturer to guarantee a consistent vintage aesthetic across my order?
Our engineers have found that detailed specifications prevent 90% of production disputes. Vague requests like "make it look old" guarantee inconsistent results. Clear documentation saves everyone time and money.
Communicate specific requirements including reference samples with approved tolerance ranges, detailed color standards with Pantone codes, precise distressing locations marked on technical drawings, acceptable variation percentages, inspection criteria with photo examples of pass/fail conditions, and packaging requirements that protect distressed finishes during shipping.
Creating a Master Sample Protocol
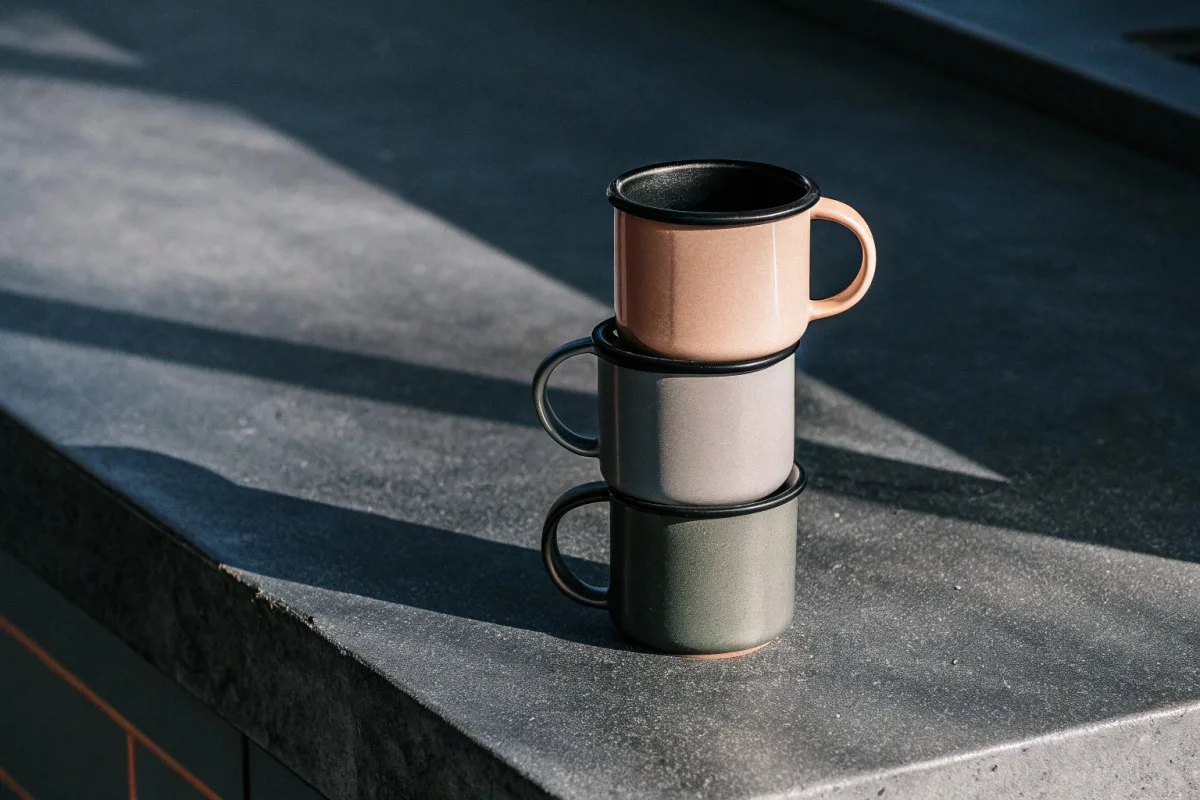
Before full production, approve a master sample. This physical reference defines the acceptable standard. Keep one sample at your office and one at the factory.
Photograph the master sample from multiple angles. Document specific features: speckle density, rim wear intensity, color saturation, finish sheen level. These photos become your inspection benchmark.
Specification Document Checklist
| Specification Area | Required Details | Measurement Method |
|---|---|---|
| Base Color | Pantone code + tolerance | Spectrophotometer |
| Speckle Pattern | Density percentage, color mix | Visual comparison |
| Rim Treatment | Width, color, wear level | Caliper + visual |
| Distressing Location | Marked technical drawing | Template overlay |
| Finish Sheen | Gloss units (GU) at 60° | Gloss meter |
| Acceptable Variation | Percentage range per feature | Sample comparison |
Variation Tolerance Guidelines
Vintage aesthetics inherently involve variation. But uncontrolled variation creates chaos. Define acceptable ranges for each element.
For example: speckle density may vary by ±15%. Edge wear intensity may range from light to medium but never heavy. Color saturation must stay within one Pantone shade lighter or darker.
These boundaries give your factory flexibility while preventing extreme outliers.
Inspection Criteria with Visual Examples
Words fail where photos succeed. Create a visual inspection guide with clear examples of:
- Acceptable speckle distribution (3-5 photos)
- Acceptable edge wear levels (3-5 photos)
- Acceptable color variations (3-5 photos)
- Unacceptable defects (5-10 photos)
Include photos of real samples, not computer renderings. Workers on the production line need references they can quickly compare against actual product.
Communication Frequency and Checkpoints
Establish production milestones requiring your approval:
- Pre-production sample approval
- First article inspection (first 50 units)
- Mid-production quality check
- Final inspection before shipping
At each checkpoint, request photos and measurements. Address any drift from standards immediately. Small problems in early production become big problems at final delivery.
Packaging Considerations for Distressed Finishes
Distressed finishes are more vulnerable during shipping. Chips and wear marks can deepen from impact. Protective packaging costs extra but prevents damage claims.
Specify individual wrapping for each mug. Use foam dividers between products. Reinforce outer cartons for international shipping. The cost increase is minor compared to replacement expenses for damaged goods.
Building Long-Term Supplier Relationships
Consistent vintage aesthetics improve over time with the same supplier. They learn your preferences. They anticipate your concerns. They refine their techniques based on your feedback.
Invest in this relationship. Visit the factory when possible. Share customer feedback—both positive and negative. Suppliers who understand your brand deliver better results than those filling anonymous orders.
Conclusion
Achieving an authentic distressed vintage look requires clear design specifications, appropriate manufacturing techniques, strict safety protocols, and detailed supplier communication. Work closely with your factory, approve master samples, and establish measurable standards to ensure consistent quality across every order.
Footnotes
1. Defines Pantone color systems for consistent color communication in design and manufacturing. ↩︎
2. Explores the historical context and aesthetic of speckled enamelware. ↩︎
3. Explains the industrial process of abrasive blasting for surface modification. ↩︎
4. Provides a comprehensive definition of the materials and process of enamel. ↩︎
5. Details the regulatory framework for food contact materials in the United States. ↩︎
6. Explains the European Union’s regulation for materials in contact with food. ↩︎
7. Replaced with an authoritative FDA.gov guidance document specifically addressing the safety and labeling of ‘Lead Free’ pottery, which is highly relevant to enamel mugs and lead-free pigments in food contact materials. ↩︎